Most people do one of three things on a plane: they ball up a hoodie and shove it against the window, they wrestle with a stiff U-shaped pillow that props their neck up while their head still flops forward, or they just give up and doom-scroll for four hours. I was firmly in that third group until about two years ago, when I started traveling with the napfun Travel Neck Pillow and actually figured out how to use it correctly. That second part matters more than most people realize.
A neck pillow only works if you know the technique. You can buy the best one on the market and still wake up with a crick in your neck if you have it positioned wrong, chose the wrong seat, or skipped a couple of the small setup steps. This guide walks through everything I do before and during a flight to make sleep actually happen. It is not complicated, but the order of the steps matters.
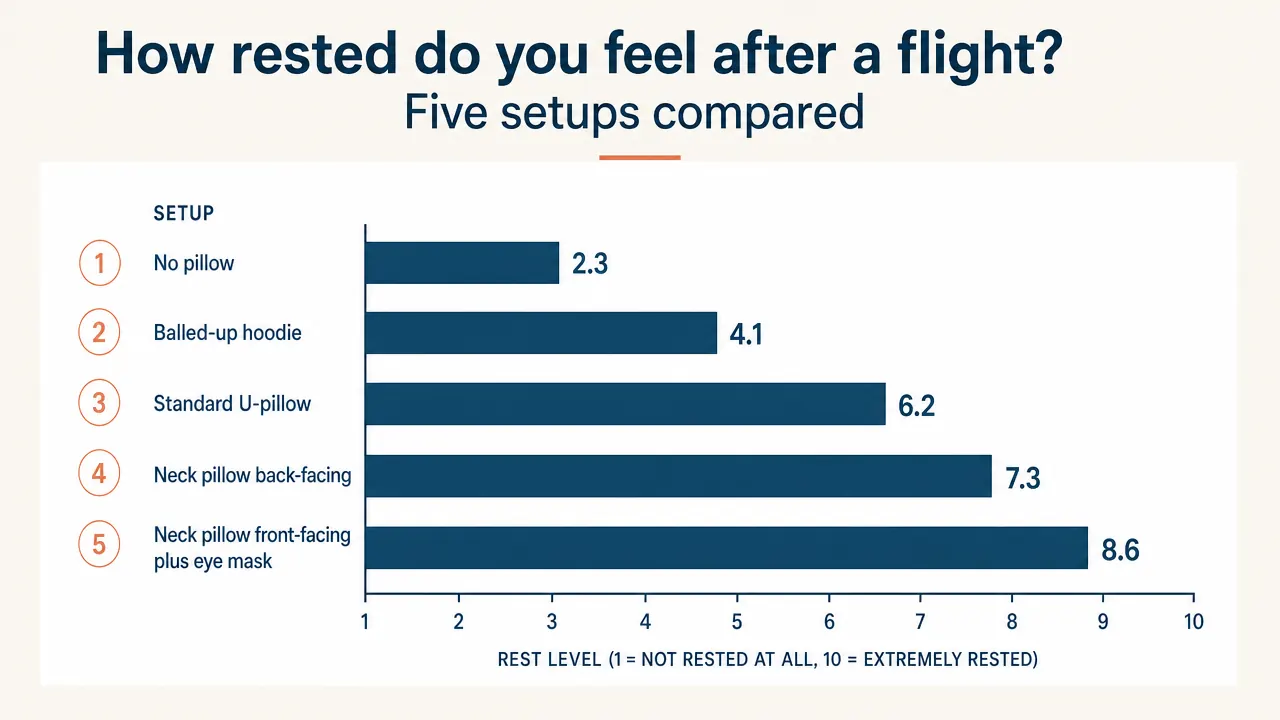
Still landing stiff and wiped out? Your pillow position might be the whole problem.
The napfun Travel Neck Pillow has over 20,000 reviews and a design that lets you flip the opening to the front so your chin rests on it instead of drooping. It is the pillow I travel with every time we fly. Check today's price before your next trip.
Amazon Check Today's Price on Amazon →Before You Even Get to the Airport
Good in-flight sleep starts with decisions you make before you leave the house. The biggest one is seat selection. Window seats are almost always better for sleeping than middle or aisle seats. You get a wall to lean against, nobody climbs over you to use the bathroom at 1 AM, and you control the window shade so light does not wake you up. If you are traveling with kids and cannot take a window seat yourself, at least try to get a window seat for the child most likely to fall asleep so they are not leaning on you for the whole flight.
The other thing to do before you leave is charge your phone and download something to watch offline. This sounds unrelated to sleeping, but knowing you have entertainment ready means you are not anxious about being bored if you cannot sleep. That small reduction in mental pressure makes it easier to actually relax once you are in the air. I also wear my most comfortable clothes on travel days. Jeans that are tight around the waist are not your friend on a four-hour flight where you are trying to nap.
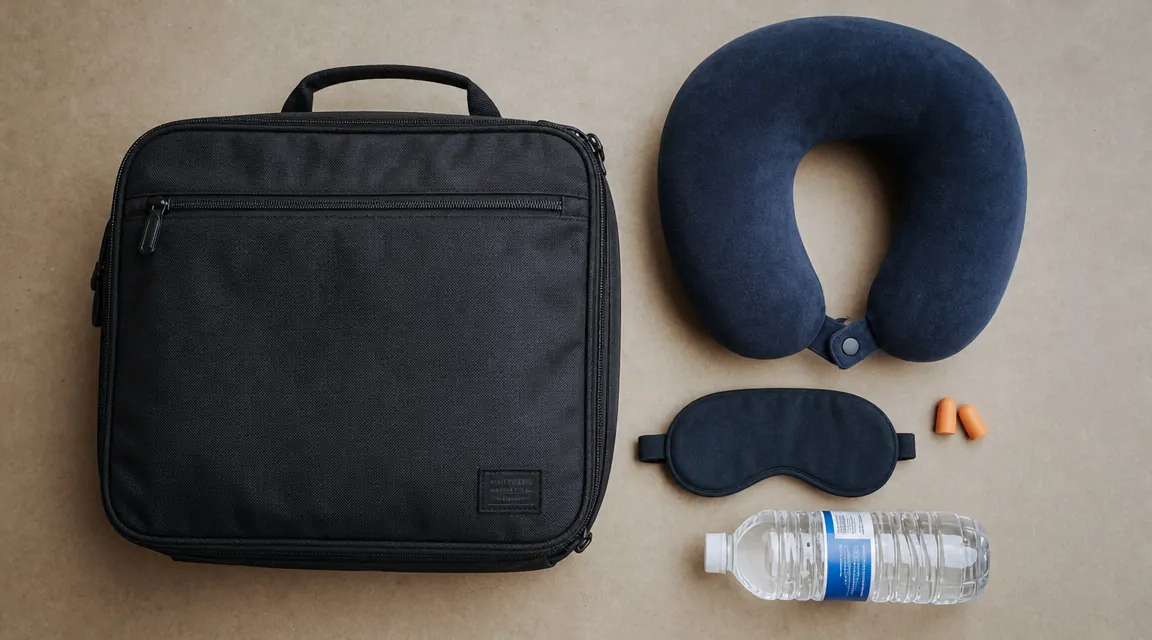
Step 1: Pack Your Sleep Kit in Your Personal Item, Not Your Carry-On Overhead
Your neck pillow, eye mask, and ear plugs need to be reachable once you are seated, not stuffed in the overhead bin. I keep mine in a small tote under the seat in front of me. The moment I sit down, I pull out the pillow and set it in my lap. Waiting until after takeoff to dig through an overhead bag means missing the first hour of potential sleep, which is often the easiest hour to nod off. That first hour at cruising altitude, when you are still fresh and the cabin goes quiet, is valuable.
The napfun pillow compresses down small enough to fit in a side pocket of a regular tote bag, which is a practical detail I appreciate on a trip where I am already hauling snacks, a tablet, and my kids' headphones. It does not need a clip-on loop to attach to my carry-on because it actually fits inside it.
Step 2: Flip the Pillow Opening to the Front
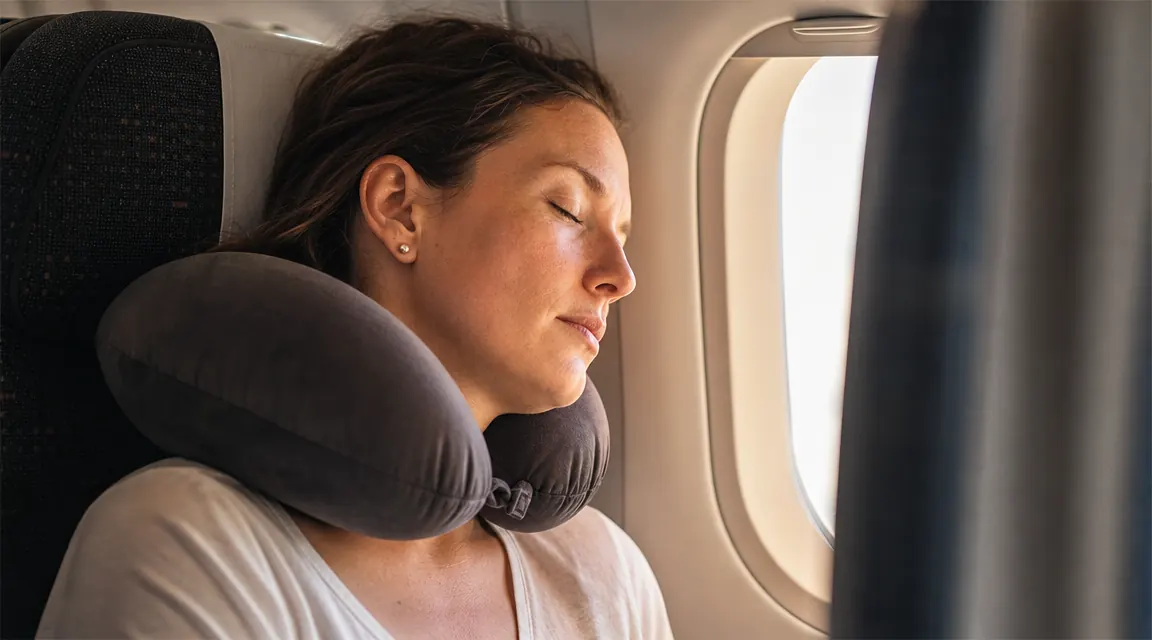
This is the step most people skip, and it makes the biggest difference. Standard neck pillows have the opening at the back of the neck. The problem with that design is your head still has nothing stopping it from falling forward while you sleep. The napfun pillow is designed so you can rotate it 180 degrees and wear the opening at the front. Your chin rests on the front section of the pillow, your neck is supported on the sides, and your head stays upright instead of bobbing forward every time you drift off.
The first time I did this on a flight from Atlanta to Seattle, I fell asleep before we hit cruising altitude and woke up about ninety minutes later with no neck pain. That had genuinely never happened to me on a flight before. It felt almost too simple, which made me a little annoyed at how many uncomfortable flights I had sat through before figuring it out.
Flip the opening to the front so your chin rests on it. That one change is what separates a real nap from two hours of head-bobbing misery.
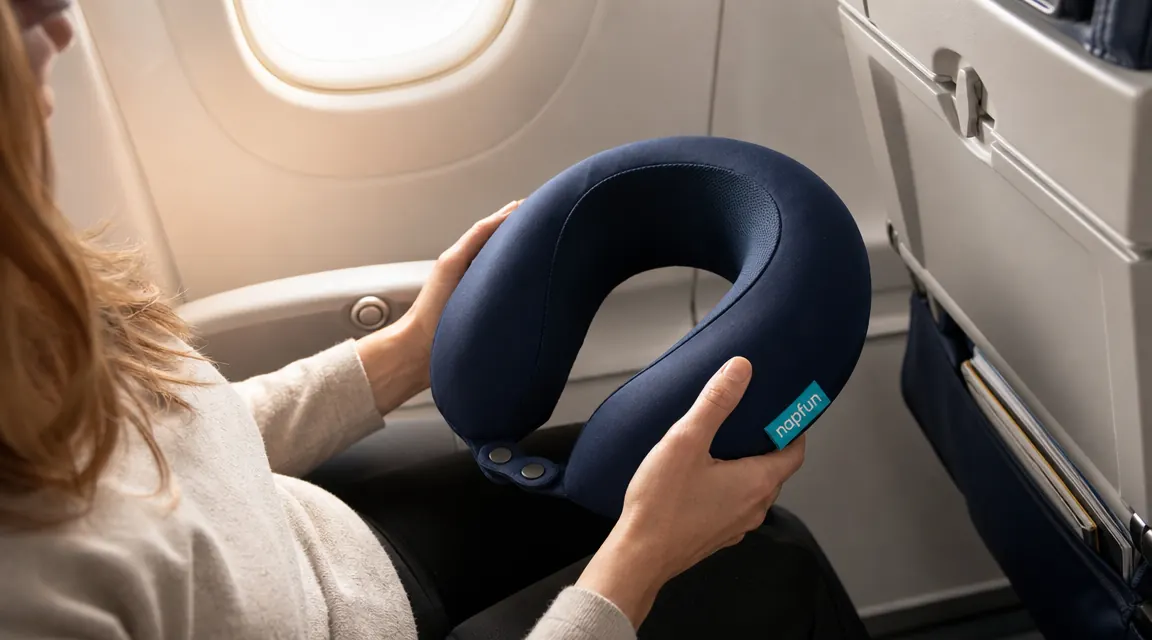
Step 3: Adjust the Firmness Before Takeoff
The napfun pillow has an expansion toggle that lets you adjust how firm the fill is. Before takeoff, I tighten it up just slightly more than feels comfortable when I am sitting upright and alert. It sounds counterintuitive, but when you relax and your head gets heavy, the pillow compresses a little from the weight. Starting a touch firmer means you end up at the right support level once you are actually drowsy, rather than waking up to find it has gone flat and your neck has been hanging to one side for the last forty minutes.
Give yourself two or three minutes to fiddle with this before the plane starts moving. Once you are in the middle of a taxi or takeoff, adjusting a pillow while belted in is awkward. Getting it right on the ground takes thirty seconds, and it is worth those thirty seconds.
Step 4: Add an Eye Mask and Ear Plugs
A neck pillow handles the physical side of sleep, but light and noise will still keep you awake if you do not address them. Cabin lighting on daytime flights is often brighter than it looks. Even when the overhead lights are off, phones and screens from surrounding passengers create a low-level flicker that keeps your brain from fully shutting down. An eye mask costs a couple of dollars and eliminates that problem completely. I have used the cheap ones they hand out on international flights and they work fine.
For sound, foam ear plugs from the drugstore work fine for most people. If you have noise-canceling headphones and they fit comfortably alongside the neck pillow, use those instead. The combination of the napfun pillow, an eye mask, and ear plugs puts you in close to the same sensory environment as your own bedroom, which is the whole point. Your body does not know how to sleep on demand in a new environment. You have to give it the cues it recognizes.
Step 5: Use the Window or Recline to Find Your Best Angle
Even with the pillow in the front-facing position, most people sleep better when their head is slightly tilted toward a surface rather than perfectly upright. If you have a window seat, angle your head just slightly toward the wall after you put on your eye mask. The pillow keeps your neck supported and the wall gives your head a secondary resting point. You are not pressing your face into the window, just letting gravity work with you instead of against you.
If you are in a middle or aisle seat, recline by even one notch. That small backward tilt changes the angle of your whole body and reduces how much work your neck muscles are doing to keep your head up. Paired with the pillow in the front-facing position, one notch of recline makes a real difference. Do not feel guilty about it. That is what the recline button is for.
What Else Helps
A few small habits make the physical setup work even better. Avoid alcohol on the plane if you are trying to sleep well. It knocks you out initially but disrupts sleep quality in the second half of the flight, so you land feeling worse than if you had just stayed awake. A small amount of water before you doze off is better. Staying hydrated keeps your muscles from cramping, which is a common reason people wake up stiff even when they slept through most of a flight.
Dress in layers. Airplane cabins vary wildly in temperature, and being too cold or too warm is one of the fastest ways to wake yourself up mid-nap. I always travel with a light cardigan or zip-up I can put on or take off without waking anyone around me. Compression socks are worth trying on flights longer than four hours. They keep circulation going in your legs, which reduces the heavy, restless feeling that makes it hard to settle.
On longer international flights, try to time your sleep to match the destination time zone. If you are flying overnight to Europe, sleep as early in the flight as you can rather than watching movies for three hours first. The napfun pillow setup takes about two minutes to get right, so you can be ready to sleep right after the seat belt sign goes off at cruising altitude. That is a real advantage over people who spend the first hour trying to figure out why their pillow is not comfortable.
What to Read Next
If you want more detail on the napfun pillow specifically, the napfun neck pillow review covers how it held up over six months of family travel, what changed after I switched to the front-facing position, and a few things I wish it did differently. It is an honest write-up, not a sales pitch.
If you are still on the fence about whether a neck pillow is worth carrying at all, especially for shorter trips, the 10 reasons you need a travel neck pillow piece breaks down the case flight by flight. Even a two-hour hop can leave your neck sore if you fall asleep at an awkward angle, and a pillow that fits in your bag is a small trade-off for not waking up stiff for the next two days.
For packing the pillow itself, I compress the napfun into its own stuff sack and tuck it alongside the kids' gear. It takes up almost no room. On the return flight, after everyone has been walking theme parks for a week and the kids are already tired before we board, having the sleep setup ready to pull out the moment we sit down is genuinely useful. The less friction between sitting down and actually sleeping, the more sleep you get.
Your neck will notice the difference on the next flight.
The napfun Travel Neck Pillow is what I bring every time we fly as a family. The front-facing design keeps your head supported instead of drooping, it packs down small, and at the current price it is one of the smarter travel decisions you can make before a long flight.
Amazon Check Today's Price on Amazon →